The pine cone scarf crochet pattern is like a warm hug on a chilly day. It’s as customizable as your favorite frothy coffee, whether you like it long, short, or with a fun fringe. With just a hook, some yarn, and a sprinkle of creativity, you’ll have a cozy accessory that’s as unique as you are. Happy crocheting! 🧣🧶
Table of Contents
ToggleIntroduction 🧣
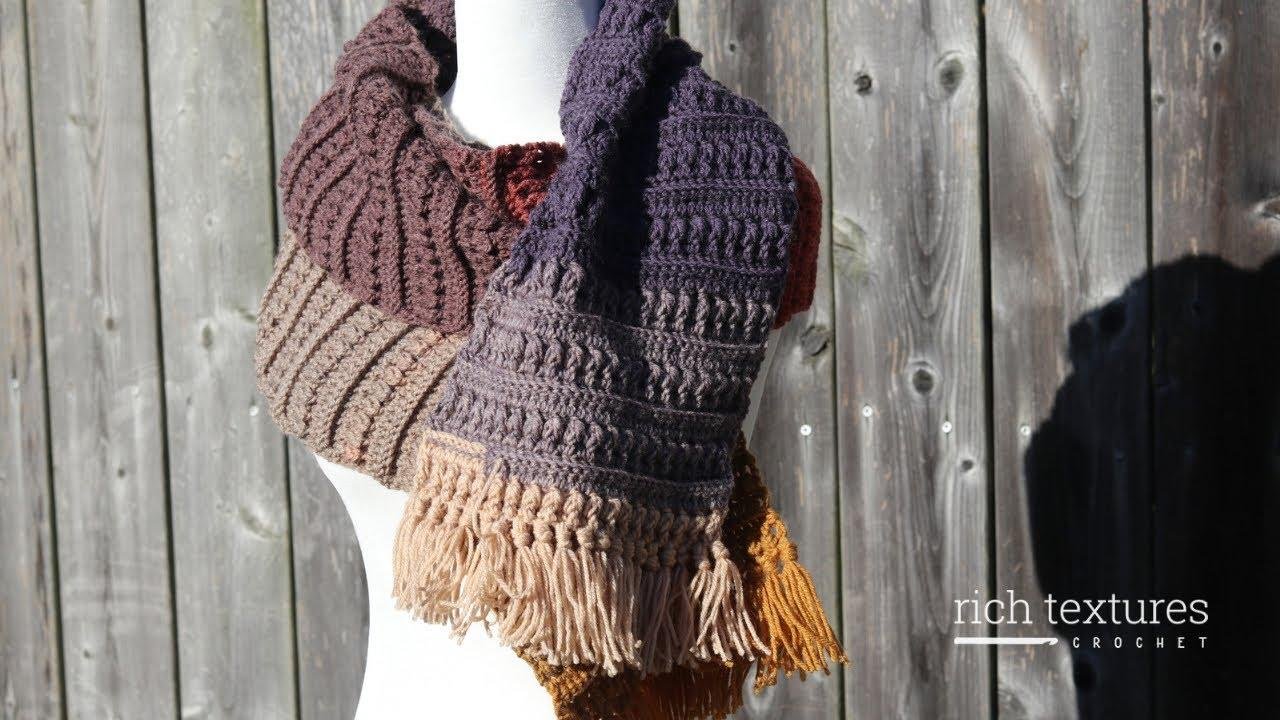
In this tutorial, we will learn how to crochet the pine cone scarf. This pattern features a beautiful texture and can be easily customized to your desired width and length. We will also explore how to add a fringe to the scarf. Let’s grab our hooks and yarn and get started!
Materials Needed
Before we begin, let’s gather the materials we need for this project:
| Item | Description |
|---|---|
| Yarn | Lightweight yarn, 900-1000 yards required |
| Crochet Hook | 5mm or H8 hook required |
| Written Instructions | Free pattern available on RichTexturesCrochet.com |
Pattern Overview 🧶
The pine cone scarf pattern is worked in rows, starting at the short end of the scarf. It utilizes basic crochet stitches and creates a stunning texture. Let’s dive into the step-by-step instructions for creating this beautiful scarf.
Row 1: Foundation Chain
To begin, create a slip knot and work a foundation chain of any odd number of stitches, ensuring the chain suits your desired scarf size.
Stitch Tutorial 🧵
Now that we’ve set the stage, let’s explore the stitches that form the beautiful texture of the pine cone scarf.
| Stitch | Description |
|---|---|
| Double Crochet | Worked into the fourth chain from the hook, and into each stitch across |
| Half Double Crochet | Worked into the top of the first stitch, followed by a front post puff stitch and back post double crochet across the row |
Rows 2-5: Creating Texture
The ensuing rows of the pattern continue to build upon and enhance the textured design, creating a visually appealing pattern.
Fringe Addition 🎀
Once the main body of the scarf is complete, we have the option to add a fringe to the ends of the scarf to add a decorative and textured touch.
| Instruction | Description |
|---|---|
| Cutting Yarn Lengths | Cut 6-10 inch lengths of yarn, based on the desired thickness of the fringe |
| Attaching the Fringe | Use a crochet hook to attach the fringe to the stitches, giving the scarf a finished and stylish look |
Conclusion 🌟
With this tutorial, you can easily create a beautiful pine cone scarf with a lovely textured design. Be creative and make it your own by customizing the width, length, and adding a fringe to suit your personal style.
Key Takeaways
- The pine cone scarf pattern is highly customizable in terms of length, width, and fringe addition.
- Utilizes basic crochet stitches to create a beautiful textured design.
- Written instructions are available for free on RichTexturesCrochet.com.
For more crochet patterns, feel free to explore additional content on the Rich Textures Crochet channel. Happy crocheting!
Related posts:
- 🃏 Tarot reading #200 Gaby and the truth game (Kate’s game, references to the universe, portraits, Belline..)
- MBT discusses the Midjourney MTG case.
- The most common dreams people have: Top 5 worldwide.
- Create advanced presentations from scratch with ChatGPT Plug-ins.
- Transform your CUSTOM GPT into a profitable AI side project by generating thousands of articles for your business.
- Comparing Gemini Advanced and ChatGPT Plus


